Ever feel like AI video tools are popping up daily?
As a content creator, I’ve tried just about everything—Runway for cinematic edits, Sora for quick ChatGPT-style prompt generation, and even the freebie Hailuo (which is surprisingly impressive).
Each one has a unique spin and excels in different scenarios.
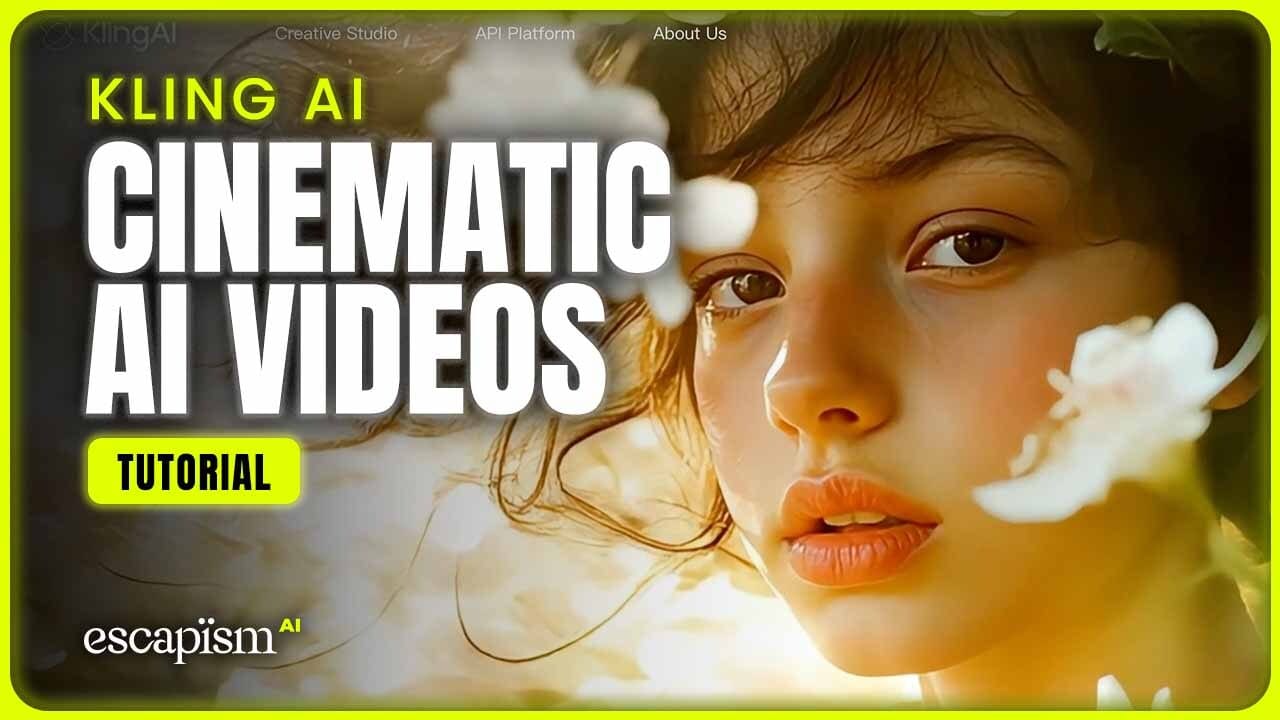
But after taking Kling 2.0 for a spin, I’m definitely adding it more heavily into my creative process. I will continue to use my arsenal of AI vid gen tools for different use cases, but I will absolutely be leveraging Kling 2.0 for its cinematic outputs, especially when paired with Runway’s creative workflow.
If you’re curious about what makes Kling 2.0 stand out and how to get started, let’s dive in.
Kling 2.0 vs Runway vs Sora vs Hailuo: How Does It Fit Into My Toolbox?

Kling 2.0 is right up there when it comes to the best AI video generators
Let’s start with a quick comparison of these AI video tools and why I plan to use Kling 2.0 a lot more:
Runway (Gen-4) – Cinematic Pro: Runway is great for high-fidelity, cinematic outputs and pro-level editing. While it’s powerful, it does have a learning curve and is best for shorter or mid-length clips. I love its workspace for more complex post-production edits. Kling 2.0 complements Runway by handling extended, story-driven videos—you can pass content between the two and get the best of both worlds.
OpenAI Sora – The Chat-First Approach: Sora is awesome for super-short clip generation via conversational prompts. It’s straightforward but limited in maximum duration. Kling 2.0 supports up to 2-minute story arcs, which makes it a better choice for longer narratives—but I still pull out Sora for bite-size social clips or idea prototyping.
Hailuo AI – Free but Limited: Hailuo is surprisingly good for short, fun clips, especially if you’re on a budget. It’s a quick fix, though most of my Hailuo videos cap at 5 seconds. When I need something more polished or lengthy, Kling 2.0 is the obvious pick. Still, it’s nice to have Hailuo on hand for rapid-fire experiments.
Kling 2.0 – Powerful Storytelling Machine: Kling is known for combining high-quality visuals, fluid motion, and the ability to generate extended videos—great for mini-films, ads, or more complex projects. For me, Kling 2.0 really shines when paired with other tools. I’ll still use Runway for elaborate color grading or post-processing, but Kling will handle the heavy-lifting of imaginative, longer-form AI video generation.
Getting Started: Kling AI 2.0 Desktop Dashboard Walkthrough

Kling 2.0 is very user-friendly, allowing anyone to get started with AI video in minutes.
So, how do you actually use Kling 2.0? Here’s a quick step-by-step to get your first AI video rendered:
Sign Up & Login
Head to the Kling AI website, create a free account, and log in. You’ll land on the Kling dashboard. (Free users receive a few daily credits—enough for 5–6 short videos.)Pick Your Mode (Image or Text)
Image-to-Video: Upload an image to guide the motion. This is Kling’s specialty.
Text-to-Video: If you’re in a hurry, just type your scene description.
(Pro Tip: Most pros stick to image-to-video for best results.)
Enter Your Prompt
On the left, type a descriptive, cinematic prompt (e.g., “A tranquil forest scene at sunrise, with gentle camera movement following a glowing firefly…”). There’s also a Negative Prompt box to exclude things (e.g., “no text overlays, no glitch effects”).Adjust Settings
Creativity vs Relevance Slider: Decide how strictly Kling follows your prompt.
Standard vs Pro Mode: Standard (free) vs professional (paid). Pro offers higher resolution and smoother motion.
Duration & Aspect Ratio: Choose how long (5s, 10s for free users; up to 2 minutes on paid) and the shape (16:9 for YouTube, 9:16 for TikTok, etc.).
Camera Movement (optional): For advanced users, specify panning, zooms, etc.
Generate
Click “Generate” and wait for Kling’s servers to process. On the free plan, a render might take a minute or two. Pro users get faster speeds and priority in the render queue.Preview & Refine
Check the results. If it’s off, tweak your prompt or negative prompt, then regenerate. Small changes can produce very different outcomes, so iterate until you get something close to your vision.Download or Share
Free downloads come watermarked; paid plans allow watermark-free HD. You can also jump into Kling’s Multi-Elements Editor to add or remove objects with text instructions. (This is where I often bounce my video back into Runway for color grading or final finishing.)
Kling AI 2.0 on Mobile: Quick Creativity on the Go
Yes, there’s a Kling mobile app for iOS and Android.
It’s nearly on par with the desktop version, so you can generate or edit videos on the fly.
I still prefer the desktop for detailed editing, but it’s nice to have the option to craft quick social media posts from anywhere.
Sync your projects across devices seamlessly—another reason I’ll be using Kling more often.
Creative Uses: From Storytelling to Ads
Why am I leaning on Kling 2.0 more these days? Because it handles a variety of creative needs:
Longer Storytelling
Kling’s extended clip durations (up to 2 minutes) are perfect for short films, narrative sequences, or multi-scene storyboards.❝Think: “Short AI film” for a brand’s product launch video—cinematic and engaging, no big production budget needed.
Eye-Catching Ads
Combine Kling’s cinematic visuals with your marketing message. With longer clips, it’s easy to produce mesmerizing product demos or brand stories that stand out on social feeds.Social Media Art
Want to hypnotize your followers with surreal looping landscapes or dynamic motion art? Kling’s prompt-based approach lets you spin up share-worthy visuals fast—just choose vertical 9:16 for Reels or TikTok.Paired With Runway or Sora
Runway for post-production: I might generate a base scene in Kling, then transfer it to Runway for advanced compositing, color grading, or adding text overlays.
Sora for rapid prototyping: If I just want a quick 5-second concept, I might hop into Sora to test an idea before expanding it in Kling.
Final Thoughts
Kling 2.0 has quickly become a more integral part of my AI video rotation. It’s not about discarding the others—I’ll still reach for Runway’s editor when I need finer manual controls, Sora for ultra-quick experiments, and Hailuo for offbeat freebies.
But when it comes to generating longer, more dynamic videos, Kling 2.0 is in a league of its own.
I hope this Kling AI tutorial helps you get up and running quickly. If you haven’t yet given Kling 2.0 a spin, I highly recommend it.
Whether you’re a digital artist, marketer, or content creator, there’s plenty of room to add Kling to your arsenal and watch the AI image-to-video magic unfold. Happy creating!

